If you’re considering purchasing a projector for your home or office, one of the most important questions you’re likely to ask is whether the wall needs to be flat for the projector to work effectively. In this article, we’ll take a detailed look at this topic and provide answers to all your questions related to projector screen surfaces.
Understanding the importance of a flat wall for a projector
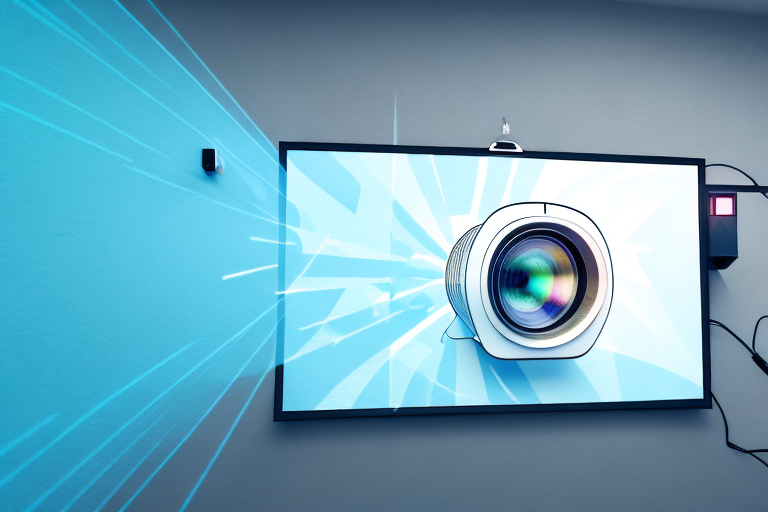
Before we delve into the specifics of whether a wall needs to be flat for a projector, it’s worth understanding the significance of flat surfaces when it comes to projection technology. Projectors work by projecting an image onto a surface, and this image needs to be flat and even for optimal results.
A flat surface ensures distortion-free images, improved color accuracy, and overall better picture quality. If even a small portion of the projection surface is distorted or uneven, it can lead to significant issues like color irregularities and image compression.
It’s important to note that not all walls are created equal when it comes to projection. Some materials, such as textured or patterned wallpaper, can cause distortion and unevenness in the projected image. Additionally, walls with glossy or reflective surfaces can cause unwanted glare and reduce the overall quality of the image. When selecting a wall for projection, it’s best to choose a flat, matte surface that is free from any patterns or textures.
Can a projector work on an uneven wall surface?
The short answer is yes, but the quality of the image will likely suffer. While projectors can work on an uneven wall surface, it’s not a recommended approach. Uneven surfaces can cause the light from the projector to refract, leading to distorted images or color irregularities.
It’s essential to understand that even minor irregularities in the projection surface can cause issues. For example, if a portion of the projection surface dips even slightly, it can cause shadows on the image or make it appear darker than the rest of the screen.
Additionally, an uneven wall surface can also affect the focus of the projector. If the surface is not flat, it can be challenging to get a clear and sharp image. This can be especially problematic if you’re using the projector for presentations or watching movies. It’s always best to use a flat and smooth surface for the projection to ensure the best possible image quality.
The impact of wall texture on projector image quality
Note that the texture of a wall surface can also have a significant impact on projector image quality. Rough and textured walls can reflect light unevenly, causing shadows and uneven brightness levels on the screen.
Additionally, textured walls can make it difficult to focus the projector, and you may find it challenging to achieve sharp clarity of the images on the screen.
It is important to note that the color of the wall can also affect the projector image quality. Light-colored walls tend to reflect more light, resulting in a brighter image, while dark-colored walls absorb more light, resulting in a darker image. Therefore, it is recommended to use a neutral-colored wall for the best projector image quality.
How to determine if your wall is suitable for a projector
The easiest way to determine if your wall is flat enough for a projector is by using a level. Place the level on various points of the wall surface that you’re considering and ensure that the bubble is centered. If the bubble isn’t centered, the surface is not level, and you may need to consider alternative surfaces or some corrective work before you can install your projector.
Another factor to consider when determining if your wall is suitable for a projector is the color and texture of the wall. A smooth, light-colored wall will reflect the projected image better than a dark or textured wall. If your wall is dark or textured, you may need to consider painting it with a light-colored, matte finish paint or installing a projector screen to ensure the best image quality.
Tips for creating a smooth surface for your projector screen
If you’ve determined that your wall surface is not flat enough for projection, you may need to create a smooth surface. Some of the easiest ways to achieve this include sanding, filling gaps, or applying a thin coat of plaster or drywall compound.
It’s important to ensure that the surface is smooth and even before painting or otherwise finishing the surface. Also, remember to prime the surface before applying paint, which helps to fill any gaps and imperfections that may cause issues when projecting.
Another option for creating a smooth surface is to use a projector screen paint. This type of paint is specifically designed to create a smooth and reflective surface for projecting images. It can be applied directly to the wall or onto a screen material, such as a canvas or vinyl sheet.
When using projector screen paint, it’s important to follow the manufacturer’s instructions carefully to ensure the best results. This may include applying multiple coats, allowing for proper drying time, and using specific tools or techniques for application.
The benefits of using a flat white paint for your projection surface
When it comes to projection surfaces, the color of the wall is also essential. While it’s okay to use other colors, a flat white surface provides the best results.
When light hits a white surface, it bounces off evenly, creating a clear and vivid image. Other colors can create color shifts that may result in a distorted image. Therefore it’s recommended to use a white flat paint to create the best projection surface.
Another benefit of using a flat white paint for your projection surface is that it reduces glare. Glossy or shiny surfaces can reflect light and create a glare that can be distracting and make it difficult to see the projected image. A flat white surface absorbs light, reducing the amount of glare and creating a more comfortable viewing experience.
Alternatives to a wall – other surfaces that work well with projectors
If you’ve determined that your wall isn’t suitable for projection, or you’re looking for an alternative option, several other surfaces work well with projectors. Some of these surfaces include dedicated projection screens, pull-down screens, or even whiteboards.
When choosing other surfaces, always ensure that they are flat and even, and the color must be neutral, preferably white, to achieve optimal results.
Another alternative surface that works well with projectors is a projector screen paint. This type of paint can be applied to any flat surface, such as a wall or a board, and transforms it into a high-quality projection screen. The paint is designed to reflect light evenly, providing a clear and bright image.
Additionally, some projectors are equipped with short-throw lenses, which allow you to project images onto a tabletop or floor. This is a great option for small group presentations or interactive activities. However, it’s important to note that the surface must be smooth and non-reflective to avoid distortion or glare.
Common mistakes to avoid when setting up your projector on a non-flat surface
If you choose to install your projector on a non-flat surface, it’s crucial to avoid some of the most common mistakes. These include placing the projector too close to the surface or too far away, failing to adjust the projection angle, or using the wrong picture mode.
Another common mistake to avoid when setting up your projector on a non-flat surface is failing to account for keystone correction. Keystone correction is the process of adjusting the image to correct for distortion caused by projecting onto a surface that is not perpendicular to the projector. Failing to adjust for keystone correction can result in a distorted image that is not properly aligned. Most projectors have a keystone correction feature that can be accessed through the settings menu.
Advantages of using a professional installation service for optimal results
If you’re uncertain about how to create the ideal projection surface or how to install your projector optimally, you may want to consider hiring a professional installation service. Professional installers can help you create a smooth and even projection surface, correct any flaws, and provide the best position for the projector to create the best results.
Conclusion:
Overall, it is essential that the projection surface is as flat and even as possible to ensure optimal projection quality. While it’s possible to use alternative surfaces or to create a flat surface on a non-flat wall, this can be time-consuming and may require some professional help. Ensure that you choose the right wall color, and avoid common mistakes to achieve the best results from your projector.
Another advantage of using a professional installation service is that they can help you choose the right projector for your needs. They can assess the size of the room, the lighting conditions, and the type of content you’ll be projecting to recommend the best projector for your specific situation. This can save you time and money in the long run, as you won’t have to deal with the hassle of purchasing and installing a projector that may not be suitable for your needs.