Setting up a home theater system is an exciting project that requires thought and planning. There are many things to consider when creating a movie theater experience at home, and one of the essential components of this setup is the projector screen. One common question that people ask when it comes to installing a projector is whether it should go behind the screen. In this article, we will explore the pros and cons of rear projection, how to set up a rear projection system, the best screens to use, what equipment you need, and much more.
Understanding the difference between front and rear projection
Before we dive into the details of rear projection, it’s essential to understand the difference between front projection and rear projection. Front projection is the most widely used and popular type of projection where the projector is set up in front of the screen, and the image is projected onto the screen. Rear projection, on the other hand, involves setting up the projector behind the screen, projecting the image onto a special screen that is optimized for this type of setup. Rear projection allows for larger images and brighter colors, making it ideal for large rooms and outdoor events.
It’s important to note that rear projection requires more space than front projection, as the projector needs to be placed further away from the screen. Additionally, rear projection screens are typically more expensive than front projection screens, as they are designed to reflect the light from behind the screen rather than in front of it. However, the benefits of rear projection, such as the ability to create larger and brighter images, make it a popular choice for events and installations where image quality is a top priority.
Pros and cons of rear projection for home theaters
Now that we know the difference between the two types of projection let’s explore the pros and cons of rear projection. One significant advantage of rear projection is that the projector is hidden from view, providing a more aesthetically pleasing look to the theater room. Rear projection also allows for larger images, making it great for home theaters with a large seating capacity. However, there are also downsides to rear projection, including the need for a specific screen and the potential for shadows to be cast on the screen if an object or person blocks the projector’s light.
Another disadvantage of rear projection is that it requires a larger space behind the screen for the projector and screen setup. This can be a challenge for those with limited space in their home theater room. Additionally, rear projection screens tend to be more expensive than front projection screens, which can be a deterrent for those on a budget. Despite these drawbacks, rear projection can still be a great option for those looking for a high-quality, immersive home theater experience.
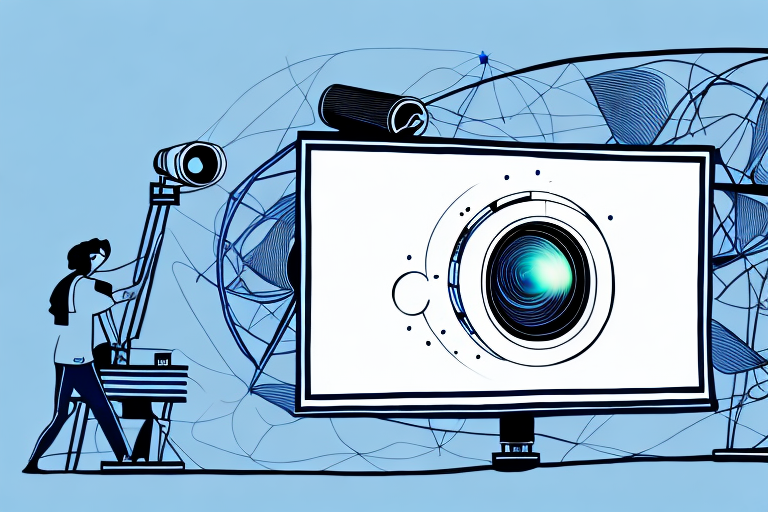
How to set up a rear projection system in your home
Setting up a rear projection system requires careful planning and attention to detail. First, you will need to choose a location to set up the screen and projector. Ensure that this space has ample room for the screen and projector equipment, and that there is a suitable power outlet nearby. Next, you will need to choose a rear projection screen that is compatible with your projector. The screen should be high gain, which means it has a reflective surface that helps to improve the brightness of the projected image. Finally, you need to install the projector behind the screen and ensure that the image is correctly aligned with the screen.
It is also important to consider the lighting in the room where you will be setting up your rear projection system. Ideally, the room should be dark or have minimal ambient light to ensure that the projected image is clear and bright. You may need to install blackout curtains or blinds to block out any external light sources. Additionally, you should consider the sound system for your home theater setup. A surround sound system can greatly enhance your viewing experience and make you feel like you are in a movie theater. Make sure to position the speakers correctly and test the sound quality before settling on a final setup.
Best screens for rear projection systems
Not all screens are created equal, and this is especially true for rear projection systems. The best screens for rear projection are high gain screens that have a reflective surface that will enhance the brightness and clarity of the projected image. Examples of these screens include Silver Star and Black Diamond. Another option is to use a DIY solution, such as a rear projection fabric or a special paint that is designed for rear projection systems.
It is important to note that the size of the screen also plays a crucial role in the quality of the projected image. The larger the screen, the more light is required to maintain the brightness and clarity of the image. Therefore, it is recommended to choose a screen size that is appropriate for the size of the room and the distance between the projector and the screen. Additionally, it is important to ensure that the screen is properly installed and tensioned to avoid any wrinkles or distortions that may affect the image quality.
Common issues with rear projection and how to troubleshoot them
While rear projection systems can provide an incredible movie watching experience, they can also come with problems. One common issue is shadows being cast on the screen if someone or something blocks the projector’s light. This can be fixed by ensuring that there are no objects in the way and that people are seated in such a way that their bodies don’t block the light. Another issue is image distortion, which can be caused by a misaligned projector or screen. Ensuring that your projector and screen are correctly aligned will help to eliminate this issue.
Another issue that can arise with rear projection systems is color distortion. This can be caused by a variety of factors, such as a dirty lens or incorrect color settings. To troubleshoot this issue, try cleaning the lens and adjusting the color settings on your projector. If the problem persists, it may be necessary to replace the lamp or seek professional assistance.
Finally, rear projection systems can also be affected by ambient light in the room. Too much light can wash out the image on the screen, while too little light can make the image appear dim. To optimize your viewing experience, try to control the amount of ambient light in the room by using curtains or blinds. You can also adjust the brightness and contrast settings on your projector to compensate for changes in ambient light.
Comparing front and rear projection for outdoor movie nights
Outdoor movie nights are becoming more and more popular, and both front and rear projection can be used for this type of event. However, rear projection is ideal for outdoor movie nights because it allows for brighter colors and larger images. Additionally, with rear projection, the projector is hidden from view, adding to the overall aesthetic of the outdoor theater experience.
Can you use a white wall as a screen for rear projection?
One common question people have is whether they can use a white wall as a screen for rear projection. While technically, a white wall can be used, it is not recommended. The issue with using a white wall is that the wall is not optimized for rear projection, and the projected image will not be as bright and vibrant as it could be. Additionally, the uneven nature of a wall’s surface can cause distortion in the image.
Exploring the benefits of using a projector screen instead of a wall
Using a projector screen instead of a wall has many benefits, including improved image quality and a more immersive viewing experience. Projector screens are optimized for use with projectors and are designed to enhance the brightness and clarity of the image being projected. Additionally, screens are made to be flat, ensuring that there is no distortion in the image.
Do you need special equipment to set up a rear projection system?
Setting up a rear projection system does require some specialized equipment, including a rear projection screen and a projector that is capable of projecting an image onto the screen from behind. Additionally, you may need mounting hardware, cabling, and a sound system. While this equipment can add to the cost of the setup, the results are well worth it for those looking to create a fully immersive home theater experience.
Tips for optimizing the image quality of your rear projector
Once your rear projection system is installed and set up, there are several things you can do to optimize image quality. One tip is to ensure that your projector is correctly aligned with the screen, using tools like a level and a plumb bob to achieve the desired alignment. Additionally, you can adjust the brightness and contrast settings on the projector to suit the lighting conditions in your theater room. Another tip is to use a high-quality signal source, such as a Blu-ray player, for the best image quality.
How to choose the right projector for your rear projection setup
Choosing the right projector for your rear projection setup is critical for ensuring a high-quality viewing experience. When selecting a projector, consider factors like image brightness, contrast ratio, and resolution. Additionally, think about the size of the room and the distance between the projector and the screen, as this will affect the size of the projected image. It’s important to do research, read reviews, and consult with professionals to ensure that you choose a projector that meets your specific needs and requirements.
Creating a DIY rear projection setup on a budget
Creating a DIY rear projection setup on a budget is possible, but it requires creativity and ingenuity. One way to save money is to use a DIY screen, such as a screen made from a bedsheet or a special paint that is designed for rear projection. Another option is to purchase a refurbished or used projector, which can save a considerable amount of money. Additionally, you can DIY a projector mount or use a repurposed item as a mount, such as a bookshelf or a ladder.
Maintenance tips for keeping your rear projector and screen in top condition
Maintaining your rear projector and screen is critical for ensuring that they remain in top condition and provide the best possible viewing experience. One essential maintenance tip is to regularly clean the projector lens and screen using a microfiber cloth. Additionally, ensure that the projector and screen are kept safe from environmental factors like dust, moisture, and extreme temperatures. Consider using protective covers and ensuring that the area around the projector and screen is clean and free of clutter that could interfere with the projection image.
The future of home theater: advancements in rear projection technology
The future of home theater looks bright, and advancements in rear projection technology are part of this. Technological improvements are leading to rear projection systems that are more energy-efficient, compact, and easier to use. Additionally, advances in materials science are resulting in screens that are more durable and have a longer lifespan. As the home theater market continues to grow, we can expect to see further advancements in rear projection technology that will make the movie-watching experience even more immersive and enjoyable.