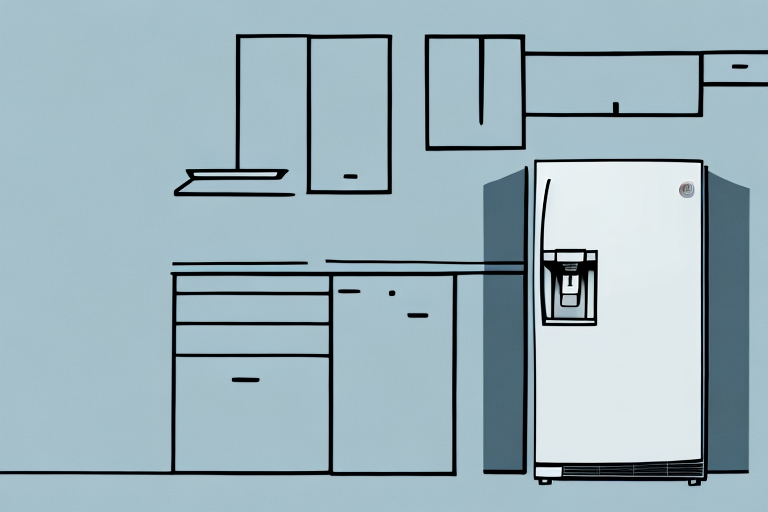
Are you experiencing issues with your LG LMXS30776S fridge’s cooling capacity? Does your fridge feel warmer than usual, or is it making strange noises? If that’s the case, you may need to install a condenser coil on your fridge. In this article, we’ll explain why you need a condenser coil for your fridge, the different types available, the tools required to install it, step-by-step instructions on how to install it, common mistakes to avoid, tips on maintaining your newly installed component, troubleshooting common issues, and answers to frequently asked questions.
Why you need to install a condenser coil on your LG LMXS30776S fridge
The condenser coil in your fridge is what makes sure your fridge stays cool. It’s the component responsible for transferring heat from the inside of the fridge to the outside environment. Over time, the condenser coil can get clogged with dirt, debris, or grime, which can affect its ability to cool the fridge. As a result, you may start to experience warmer-than-normal temperatures inside your fridge and hear strange noises emanating from it. Installing a new condenser coil on your LG LMXS30776S fridge can help restore your fridge’s cooling capacity and prevent future issues.
It’s important to note that attempting to clean the condenser coil yourself can be dangerous and may cause further damage to your fridge. It’s best to hire a professional to install a new condenser coil to ensure it’s done correctly and safely. Additionally, regularly cleaning the area around your fridge and keeping it free of dust and debris can help prevent future issues with the condenser coil and prolong the lifespan of your fridge.
Understanding the different types of condenser coils for LG LMXS30776S fridge
The two main types of condenser coils available for LG LMXS30776S fridge are the copper and aluminum coils. Copper coils are more durable and resistant to corrosion, making them the more popular option among consumers. However, they’re more expensive and heavier than aluminum coils. Aluminum coils are considered a more affordable option, but they’re less durable and can corrode faster compared to copper coils. Choose the coil that best suits your budget and needs.
Another factor to consider when choosing between copper and aluminum coils is their heat transfer efficiency. Copper coils have a higher heat transfer rate, which means they can cool the fridge faster and more efficiently. On the other hand, aluminum coils have a lower heat transfer rate, which can result in longer cooling times and higher energy consumption.
It’s also important to note that the type of condenser coil you choose can affect the overall lifespan of your fridge. While copper coils may be more expensive upfront, they can last longer and require less maintenance compared to aluminum coils. This can save you money in the long run and ensure that your fridge stays in good working condition for years to come.
Tools required for installing a condenser coil on LG LMXS30776S fridge
The tools required for installing a condenser coil on your LG LMXS30776S fridge include a Phillips screwdriver, a flathead screwdriver, an adjustable wrench, pliers, a refrigerant line piercing valve, and a refrigerant recharge kit. Make sure you have all the tools required before starting the installation process.
It is important to note that installing a condenser coil on your LG LMXS30776S fridge can be a complex process and should only be attempted by someone with experience in refrigerator repair. If you are not confident in your ability to complete the installation, it is recommended that you seek the assistance of a professional technician.
Step-by-step guide to installing a condenser coil on LG LMXS30776S fridge
Now that you have all the necessary tools, it’s time to install the condenser coil on your LG LMXS30776S fridge. Before starting the installation process, make sure your fridge is unplugged and that you have access to the back of the fridge. Follow these steps:
- Use the Phillips screwdriver to unscrew the back panel of your fridge.
- Locate the old condenser coil and use the pliers to disconnect any electrical wires or brackets attached to it.
- Use the adjustable wrench to disconnect the refrigerant lines hooked to the old coil.
- Using the flathead screwdriver, unscrew the old condenser coil from the fridge.
- Insert the piercing valve into the high-pressure refrigerant line and tighten it with the adjustable wrench.
- Place the new condenser coil into the same place as the old coil and secure it with the screws using the Phillips screwdriver.
- Attach the refrigerant lines of the new condenser coil to the piercing valve and tighten them with an adjustable wrench.
- Reconnect any electrical wires or brackets disconnected from the old coil back onto the new one.
- Replace the back panel of your fridge and secure the screws with the Phillips screwdriver.
- Plug in your fridge and let it cool for about 30 minutes before putting any food back inside.
It’s important to note that condenser coils can become dirty and clogged over time, which can cause your fridge to work harder and use more energy. Regularly cleaning your condenser coil can help improve the efficiency of your fridge and save you money on your energy bill. To clean your condenser coil, simply use a vacuum cleaner or a soft brush to remove any dust or debris.
If you’re not comfortable installing a condenser coil on your own, it’s always best to hire a professional. Attempting to install a condenser coil without the proper knowledge and experience can be dangerous and can cause damage to your fridge. A professional can ensure that the installation is done correctly and safely, giving you peace of mind and a properly functioning fridge.
Common mistakes to avoid when installing a condenser coil on LG LMXS30776S fridge
When installing your new condenser coil on your LG LMXS30776S fridge, avoid over-tightening connections, as that can cause leaks. Also, make sure to hook the refrigerant lines in the right order, following the instructions in the manual. Finally, don’t forget to clean the fridge’s condenser fan to improve its cooling efficiency.
Another common mistake to avoid when installing a condenser coil on your LG LMXS30776S fridge is not properly grounding the unit. This can lead to electrical issues and potentially cause damage to the fridge. Make sure to follow the grounding instructions in the manual carefully.
It’s also important to check the compatibility of the condenser coil with your fridge model before purchasing. Using an incompatible coil can cause damage to the fridge and void any warranty. Double-check the model number and specifications before making a purchase.
Tips for maintaining and cleaning your newly installed condenser coil on LG LMXS30776S fridge
Regular maintenance and cleaning can help prolong the lifespan of your newly installed condenser coil. To maintain your fridge, clean the coils at least once a year or as needed. Also, avoid overstocking your fridge, which can strain the condenser coil’s ability to cool the fridge properly.
Another important tip for maintaining your condenser coil is to ensure that the fridge is placed in a well-ventilated area. This will prevent the coil from overheating and potentially causing damage to the fridge. Additionally, it is important to check the fridge’s temperature regularly to ensure that it is functioning properly and efficiently.
If you notice any issues with your fridge, such as unusual noises or a decrease in cooling performance, it is important to address them promptly. Ignoring these issues can lead to further damage to the condenser coil and other components of the fridge, which can be costly to repair or replace. Regular maintenance and prompt attention to any issues can help ensure that your LG LMXS30776S fridge lasts for many years to come.
Troubleshooting common issues with condenser coil installation on LG LMXS30776S fridge
Issues with a newly installed condenser coil may include a noisy fridge, warm or hot temperatures inside the fridge, or frost buildup inside the fridge or freezer. If this occurs, consider seeking professional help, as it could be an indication of a more severe issue.
It is important to note that condenser coil installation should only be performed by a qualified technician. Attempting to install the coil yourself could result in damage to the fridge or injury to yourself. Additionally, regular maintenance of the condenser coil, such as cleaning it every six months, can help prevent issues from occurring in the first place.
Frequently asked questions about installing a condenser coil on LG LMXS30776S fridge
Q: How long should a condenser coil last on my LG LMXS30776S fridge?
A: A condenser coil on an LG LMXS30776S fridge can last between 10 and 15 years, depending on usage and the quality of the coil.
Q: Can I install the condenser coil myself, or do I need a professional?
A: If you’re experienced in DIY projects, installing the condenser coil yourself is possible. However, if you’re not sure how to do it, it’s best to seek professional help.
Conclusion:
Installing a new condenser coil on your LG LMXS30776S fridge can help restore its cooling capacity and prevent future issues. Use the provided steps and precautions to ensure a smooth installation process, and remember to follow routine maintenance tips to prolong your component’s lifespan.
Q: What are some signs that my condenser coil needs to be replaced?
A: Some signs that your condenser coil needs to be replaced include reduced cooling capacity, increased energy bills, and unusual noises coming from the fridge. If you notice any of these signs, it’s best to have a professional inspect your fridge and determine if a new condenser coil is necessary.
Q: How much does it cost to replace a condenser coil on an LG LMXS30776S fridge?
A: The cost of replacing a condenser coil on an LG LMXS30776S fridge can vary depending on the location and the professional you hire. On average, the cost can range from $200 to $500, including parts and labor.