Are you tired of watching movies and TV shows on a small screen or listening to music on low-quality speakers? If so, it’s time to upgrade to a home theater system. And if you’ve chosen the Eclipse Home Theater System HDTVstf0420, you’re in for a treat! This system is packed with advanced features that will transform your entertainment experience. In this article, we will guide you through all the steps of setup and configuration, so you can make the most out of your new system.
Getting Started with Your Eclipse Home Theater System
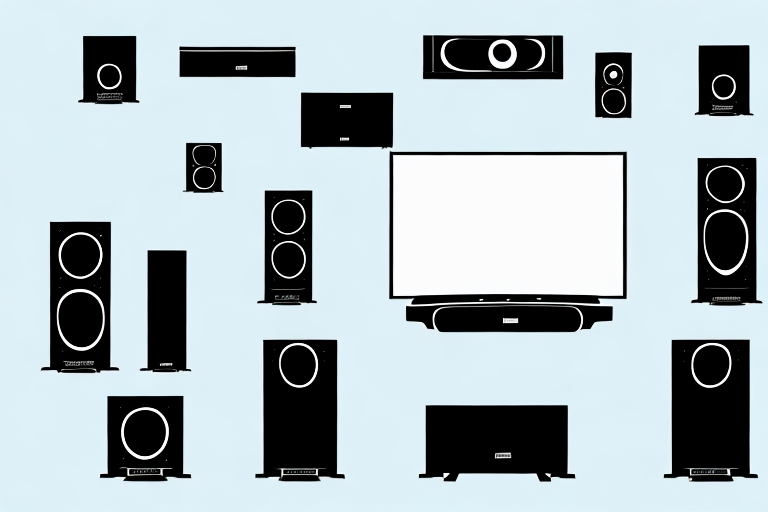
Before you get started with the setup process, make sure you have all the components of the Eclipse Home Theater System HDTvstf0420. The package should include a display screen, a receiver unit, speakers, remote control, Wi-Fi adapter, and cables. If you’re missing any of these components, contact the manufacturer for assistance.
Once you have confirmed that you have all the necessary components, it’s time to start setting up your Eclipse Home Theater System. Begin by connecting the display screen to the receiver unit using the HDMI cable provided. Then, connect the speakers to the receiver unit using the speaker wires. Make sure to follow the color-coded labels on the wires to ensure proper placement.
Understanding the Components of Your Home Theater System
It’s important to understand the function of each component in your home theater system to set it up properly. The receiver unit is the core of your system, which controls the audio and video signals. The display screen is where you’ll see the video output, while the speakers will produce high-quality surround sound. The Wi-Fi adapter connects your system to your home network to stream digital content from the Internet.
Another important component of your home theater system is the subwoofer. This speaker is responsible for producing low-frequency sounds, such as bass and rumbling effects, which can greatly enhance your movie-watching experience. It’s usually placed on the floor and can be wired or wireless.
You may also want to consider adding a soundbar to your home theater system. This is a long, narrow speaker that can be mounted on the wall or placed on a shelf. It can provide a more immersive audio experience by simulating surround sound, without the need for multiple speakers. Some soundbars also come with a subwoofer built-in.
Choosing the Right Location for Your Home Theater System
The placement of your home theater system is crucial in creating the best possible experience. Choose a room with good lighting and ventilation, away from windows and bright light sources that might cause a glare on the screen. The room should also have enough space to accommodate your display screen, speakers, and furniture comfortably.
Another important factor to consider when choosing the location for your home theater system is the acoustics of the room. A room with hard surfaces, such as tile or hardwood floors, can cause sound to bounce around and create echoes, which can negatively impact the audio quality. To improve the acoustics, consider adding soft furnishings, such as curtains, rugs, and upholstered furniture, to absorb sound and reduce echoes.
Additionally, it’s important to think about the location of your home theater system in relation to other areas of your home. If you have neighbors or family members who might be disturbed by loud noises, consider placing the system in a room that is far away from bedrooms or other quiet areas. You may also want to invest in soundproofing materials, such as acoustic panels or insulation, to further reduce noise levels.
Preparing Your Room for the Eclipse Home Theater System
Once you’ve chosen the location of your home theater system, it’s time to prepare the room for the installation. Clear out any clutter, dust, or debris from the room to prevent any obstruction in the system’s functioning. Make sure the room has power outlets, as you’ll need to connect the receiver, display screen, and speakers to the power source.
Next, consider the lighting in the room. You want to create a comfortable viewing experience, so it’s important to control the amount of light in the room. You can install blackout curtains or shades to block out natural light, or use dimmer switches to adjust the brightness of artificial lighting. Additionally, you may want to add some ambient lighting to enhance the atmosphere of the room.
Finally, think about the acoustics of the room. Sound quality is a crucial aspect of any home theater system, so you’ll want to ensure that the room is optimized for audio. You can add acoustic panels to the walls or ceiling to absorb sound and reduce echoes. You may also want to position the speakers strategically to achieve the best sound quality. With these preparations, you’ll be able to enjoy a truly immersive home theater experience.
Connecting Your Eclipse Home Theater System to Power and Wi-Fi
After preparing your room, it’s time to start connecting the components of your system. Begin by plugging the display screen, receiver, and speakers into power outlets. The Wi-Fi adapter should also be plugged into a power outlet and connected to the receiver unit using a cable. Once the adapter is connected, you can use the on-screen menu to connect the system to your Wi-Fi network.
It’s important to note that the Wi-Fi adapter should be placed in a location with a strong Wi-Fi signal. If the adapter is too far away from your router, you may experience connectivity issues or slow streaming speeds. Consider using a Wi-Fi extender or moving your router closer to the adapter to improve the signal strength.
Additionally, if you have multiple devices connected to your Wi-Fi network, it’s possible that your Eclipse Home Theater System may experience interference or bandwidth issues. To avoid this, try to limit the number of devices connected to your network while using the system, or consider upgrading your internet plan to accommodate the additional bandwidth needed for streaming high-quality video and audio.
Setting Up Your Eclipse HDTVstf0420 Display Screen
After connecting the components to power and Wi-Fi, it’s time to set up your display screen. Turn on the screen and use the on-screen menu to select the correct input source. The system should automatically detect the connected devices and display them on the screen.
If the system does not automatically detect the connected devices, you may need to manually select the input source. Refer to the user manual for instructions on how to do this.
Once the input source is selected, adjust the display settings to your preference. This includes adjusting the brightness, contrast, and color settings. You may also want to adjust the screen resolution to match the capabilities of your connected devices.
Configuring Sound Settings for Optimal Audio Quality
Now that your display screen is set up, you can move on to configuring the audio settings for optimal sound quality. Use the on-screen menu to adjust the volume, bass, treble, and other sound settings according to your preference. You can also customize different sound profiles for different types of content, such as movies, music, and TV shows.
It is important to note that the acoustics of the room where your display screen is located can also affect the audio quality. If the room has hard surfaces, such as tile or hardwood floors, the sound may bounce around and create echoes. To minimize this, you can add soft furnishings, such as curtains or rugs, to absorb the sound and improve the overall audio experience.
Another factor to consider is the type of speakers you are using. If you are using built-in speakers, they may not provide the best audio quality. Consider investing in external speakers or a soundbar to enhance the sound and provide a more immersive experience.
Adjusting Video Settings for Optimal Picture Quality
In addition to sound settings, it’s essential to configure video settings for optimal picture quality. Use the on-screen menu to adjust the brightness, contrast, color temperature, and other video settings as per your preference. You can also customize different video profiles for different types of content.
It’s important to note that adjusting video settings can also have an impact on the lifespan of your TV. For example, setting the brightness too high can cause the TV to consume more power and potentially lead to a shorter lifespan. It’s recommended to find a balance between picture quality and energy efficiency to ensure your TV lasts as long as possible.
Calibrating Your Eclipse Home Theater System
Calibrating your system is crucial for getting the best audio and video output. You can use a calibration tool to properly adjust the system’s settings according to your room’s acoustics and lighting conditions. Additionally, you can use the receiver unit’s built-in calibration tool to automatically calibrate the system based on its surroundings.
It is important to note that calibration should be done periodically, especially if you have made changes to your home theater system or room setup. This will ensure that you continue to get the best possible audio and video output from your Eclipse system. It is recommended to calibrate your system at least once a year, or whenever you make significant changes to your setup.
Adding Speakers to Enhance Surround Sound Experience
If you want to enhance the surround sound experience, you can add additional speakers to the system. The Eclipse Home Theater System HDTVstf0420 supports up to seven speakers, including a subwoofer, for a full 7.1 surround sound setup. Additional speakers can be placed around the room for a more immersive audio experience.
Understanding the Remote Control Functions
The Eclipse Home Theater System HDTVstf0420 comes with a remote control that allows you to access all the system’s features. Make sure to familiarize yourself with all the functions of the remote control so that you can operate the system with ease.
Troubleshooting Common Issues with Your Eclipse Home Theater System
If you’re experiencing issues with your Eclipse Home Theater System HDTVstf0420, don’t worry! There are many common issues that can be fixed with some simple troubleshooting steps. You can use the manual that came with the system or contact the manufacturer for assistance.
Tips and Tricks to Get the Most Out of Your Eclipse Home Theater System
To get the most out of your Eclipse Home Theater System HDTVstf0420, there are a few tips and tricks you can follow. For example, using good-quality cables can significantly improve the audio and video output. Additionally, keeping the system up to date with the latest firmware updates is crucial for optimal performance.
Maintenance and Care for Longevity of Your Eclipse Home Theater System
Finally, to ensure the longevity of your Eclipse Home Theater System HDTVstf0420, proper maintenance and care are required. Make sure to clean the components regularly, dust off any debris, and check for any loose connections. Additionally, storing the system in a cool and dry place can prevent damage from moisture and heat.
Now that you’ve gone through all the steps of setting up your Eclipse Home Theater System HDTVstf0420, you’re ready to sit back, relax, and enjoy your new entertainment experience. With its advanced features and surround sound capabilities, you’re sure to be amazed at the difference a home theater system can make!