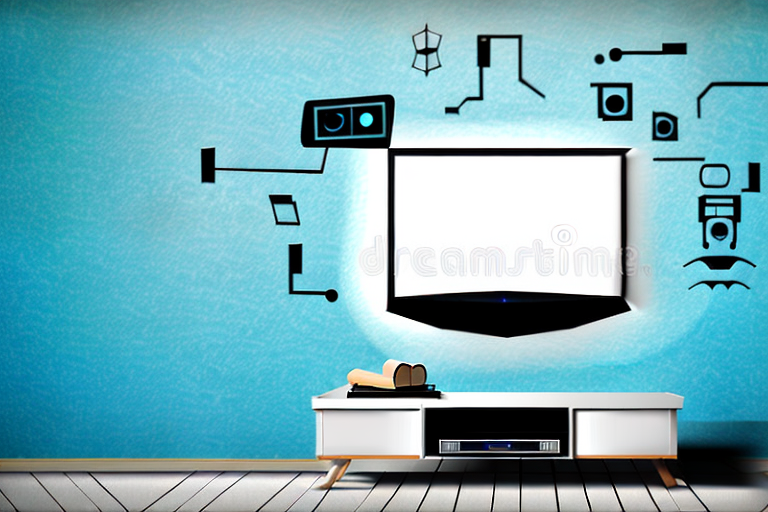
Mounting your tv on a hollow wall is a great way to save space and create a clean, modern look in your home. However, not all walls are built the same, and installing a tv mount on a hollow wall can be a tricky process. In this article, we will guide you through the step-by-step process of mounting your tv on a hollow wall – from understanding the different types of hollow walls to concealing cables for a neat finish.
Understanding The Types of Hollow Walls
The first step in mounting a tv on a hollow wall is to understand the different types of hollow walls. Generally, there are two kinds of hollow walls – cavity walls and partition walls. Cavity walls have a hollow space between two layers of substrate, such as drywall or plasterboard, whereas partition walls are made out of a single substrate with voids or hollow spaces behind them. Understanding the type of hollow wall you are working with is crucial in determining what type of anchors you need to use and how much weight the wall can support.
Cavity walls are commonly found in newer homes and buildings, while partition walls are more common in older structures. Cavity walls are typically easier to work with as they provide more space for anchors and can support heavier weights. Partition walls, on the other hand, require more care and attention when mounting objects as they have less space for anchors and can be more fragile.
It is also important to note that the thickness of the substrate can vary between different types of hollow walls. Thicker substrates can provide more support and stability, while thinner substrates may require special anchors or reinforcement. Always make sure to check the thickness of the substrate before mounting anything on a hollow wall.
Tools and Materials Required for Mounting Tv on Hollow Wall
Before you start mounting your tv on a hollow wall, you need to gather the necessary tools and materials. The tools required for this installation include a stud finder, a level, a drill, a screwdriver, a measuring tape, and a pencil. The materials required for mounting your tv on a hollow wall include anchors, screws, a tv bracket, and cables for your tv.
It is important to note that the size and weight of your TV will determine the type of anchors and screws you will need for the installation. If you have a larger and heavier TV, you will need to use heavy-duty anchors and screws to ensure that the TV is securely mounted on the wall. Additionally, it is recommended to have a helper to assist you with the installation, especially when lifting and positioning the TV onto the bracket. Taking these precautions will ensure a safe and successful installation of your TV on a hollow wall.
Preparing the Wall for Installation
Now that you have gathered the tools and materials required for the installation, the first step is to prepare the wall for mounting. Start by using a stud finder to locate the studs behind your wall, as they will provide the most robust support for your tv. Mark the position of the studs on the wall using a pencil.
Next, use a level to ensure that the marked spots are even and straight. If they are not, adjust accordingly. Once you have confirmed that the marked spots are level, you can proceed to attach the mounting bracket to the wall. Make sure to use screws that are long enough to reach the studs and ensure a secure hold. After attaching the bracket, double-check that it is level before proceeding to mount your TV.
Marking the Mounting Points on the Wall
Next, use a level to determine the desired height and position for your tv bracket. Use a measuring tape to ensure that the distance between the mounting points that will hold your tv bracket is correct. Mark the positions of the mounting points on the wall using a pencil.
It is important to make sure that the wall you are mounting your TV on can support the weight of the TV and bracket. If you are unsure, consult a professional or use a stud finder to locate the studs in the wall. Once you have located the studs, mark the positions of the mounting points on the studs instead of the drywall to ensure a secure installation.
Installing Anchors to Secure the Tv Bracket
After marking the positions of the mounting points, drill holes into the wall in the marked positions. Install anchors into the holes to provide extra support for your tv bracket.
It is important to choose the right type of anchor for your wall. If you have drywall, use plastic anchors. For concrete or brick walls, use metal anchors. Make sure the anchors are the appropriate size for the screws that came with your tv bracket. Once the anchors are in place, attach the bracket to the wall using the screws provided. Double check that the bracket is level before attaching your TV.
How to Attach the Tv Bracket to Your Hollow Wall
Now that you have installed the anchors, attach the tv bracket to the wall using screws. Make sure to securely tighten the screws, but do not overtighten them, as this can damage the wall.
It is important to note that the weight of your TV should not exceed the weight limit specified by the bracket manufacturer. If the TV is too heavy, it can cause the bracket to detach from the wall, resulting in damage to both the TV and the wall. Additionally, it is recommended to have a second person assist with the installation to ensure the bracket is level and secure.
Hanging Your Tv on the Wall with Proper Alignment
Once the tv bracket is securely attached to the wall, it is time to hang your tv on it. This step requires careful attention to details, such as properly aligning your tv with the bracket and ensuring it is level. Ask someone to help you lift your tv and carefully fit it onto the bracket. Make sure it clicks into place and is securely attached to the bracket.
It is important to note that the weight of your tv should be evenly distributed on the bracket. If the weight is not evenly distributed, it can cause the bracket to become unbalanced and potentially damage your wall or tv. To ensure even weight distribution, adjust the bracket arms to fit the size of your tv and use a level to make sure it is straight.
Another important consideration is the location of your tv. Make sure it is not placed in direct sunlight or near a heat source, as this can cause damage to the screen or internal components. Additionally, consider the viewing angle and height of the tv to ensure comfortable and optimal viewing for everyone in the room.
Concealing Cables and Wires for a Neat Finish
To achieve a neat finish, you need to conceal the cables and wires that run from your tv to the power outlet. You can use cable clips, conduit tubing, or cable covers to keep the cables organized and hidden. Make sure to test your tv to ensure that it is functioning correctly before finishing the project completely.
It is important to note that when concealing cables and wires, you should avoid tightly wrapping them together or bending them at sharp angles. This can cause interference and affect the quality of your tv signal. Instead, use gentle curves and keep the cables separated from each other to ensure optimal performance.
Tips and Tricks for a Successful Installation
To ensure that your installation is successful, you should keep a few tips and tricks in mind. For starters, always use a level to ensure your tv is mounted straight. You should also take into account the weight of your tv when choosing anchors and screws. Finally, it is always a good idea to have someone to assist you in lifting your tv and fitting it onto the bracket.
Another important tip to keep in mind is to make sure that you have all the necessary tools before starting the installation process. This includes a drill, screwdriver, measuring tape, and a stud finder. Additionally, it is important to read the instructions carefully and follow them step by step to avoid any mistakes. By following these tips and tricks, you can ensure that your installation is successful and your TV is securely mounted.
Common Mistakes to Avoid When Mounting Tv on Hollow Wall
When mounting a tv on a hollow wall, there are a few common mistakes that you should avoid at all costs. These include using the wrong type of anchors or screws, overtightening screws, not pre-drilling holes, and not testing your installation before finishing it.
Another common mistake to avoid when mounting a tv on a hollow wall is not considering the weight of the tv. It is important to choose anchors and screws that can support the weight of your tv. If you are unsure about the weight capacity of your wall, it is best to consult a professional.
Additionally, it is important to consider the location of your tv mount. Mounting your tv too high or too low can cause discomfort and strain on your neck and eyes. The ideal height for a tv mount is at eye level when seated. Take the time to measure and adjust the height of your tv mount before installation.
Troubleshooting Issues with Mounting Tv on Hollow Wall
If you encounter any issues during the installation process, such as the bracket not being level or the tv not clicking into place, it is important to address them immediately. Double-check the alignment of your tv and bracket, and make sure that your anchors and screws are appropriately tightened. If you can’t seem to fix the issue yourself, don’t hesitate to seek help from a professional.
By following the steps outlined in this article, you will be able to successfully mount your tv on a hollow wall with ease. Keep in mind that proper planning, the correct tools and materials, and careful attention to detail are critical in ensuring a successful installation. Good luck!
It is also important to consider the weight of your TV and the capacity of your wall before mounting. If your TV is too heavy for the wall, it may cause damage or even fall off. Make sure to check the weight limit of your wall and choose a bracket that can support the weight of your TV. Additionally, if you are unsure about the capacity of your wall, it may be best to consult with a professional before proceeding with the installation.